DORI in CCTV: pixel density made simple
“Can this camera recognise a face at the gate?” DORI answers that question with one number — pixels per metre on the target. Here is how it works and how to calculate it.
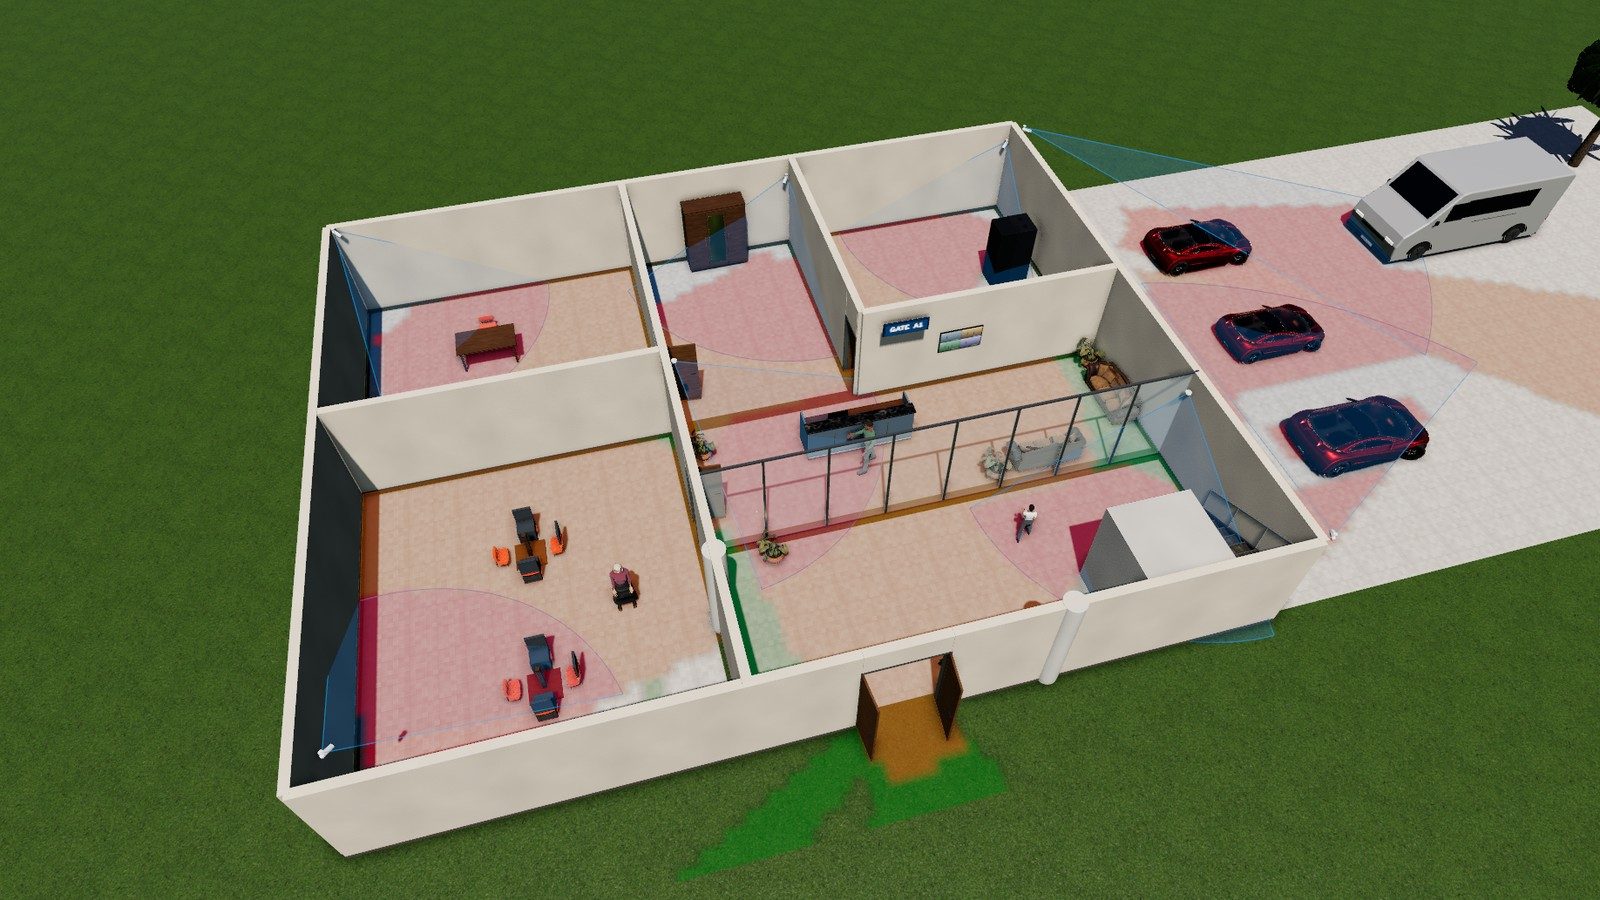
The four DORI levels
DORI comes from the European standard IEC EN 62676-4:2015. It defines how many pixels must fall on one metre of the scene (at the target distance) for each task:
| Level | Pixels per metre | What you can do |
|---|---|---|
| Detection | 25 px/m | See that a person or vehicle is present. |
| Observation | 63 px/m | See what people are doing, clothing colour, general details. |
| Recognition | 125 px/m | Tell whether a person is someone you already know. |
| Identification | 250 px/m | Identify an unknown person beyond reasonable doubt. |
How to calculate pixels per metre
Two simple steps: find how wide the picture is at the target distance, then share the camera's horizontal pixels over that width.
② Pixel density (px/m) = Horizontal pixels ÷ Scene width
The angle factor depends only on the camera's horizontal field of view — take it from this table:
| Horizontal view | 110° | 100° | 90° | 80° | 60° | 45° | 30° | 20° |
|---|---|---|---|---|---|---|---|---|
| Angle factor | 2.86 | 2.38 | 2.00 | 1.68 | 1.15 | 0.83 | 0.54 | 0.35 |
For engineers: the factor is 2 × tan(angle ÷ 2), so Scene width = 2 × distance × tan(HFOV ÷ 2). The calculator above does this for any angle.
Example
A 2 MP camera (1920 px wide) with a 90° horizontal field of view, target at 10 m:
- Scene width = 10 × 2.00 = 20 m
- Pixel density = 1920 ÷ 20 = 96 px/m → Observation (not enough for recognition)
- To recognise people at 10 m you need 125 px/m: a 4 MP camera (2560 px) gives 128 px/m with the same lens, or keep 2 MP with a narrower lens of about 75°.
Practical rules
- Pixel density falls with distance: doubling the distance halves the px/m.
- A wider lens covers more area but with fewer pixels per metre — plan entrances and cash points for identification, and car parks for detection or observation.
- Low light, IR, compression and motion blur reduce the real quality, so keep a margin above the minimum.
- Vertical mounting height matters: a camera too high looks at the top of heads, not faces.
CCTV Designer Pro draws the DORI zones directly on your plan and shows the camera view at the real pixel density, so you can see the result before installation.
Plan a complete IP surveillance system on your own floor plan: camera positions, field of view, DORI coverage, a realistic 3D camera view, NVR storage and a ready-to-send report. Free, in English, Arabic and French.
Open CCTV Designer Pro →Frequently asked questions
What does DORI stand for?
Detection, Observation, Recognition and Identification — four levels of image detail defined by IEC EN 62676-4.
How many pixels per metre are needed to identify a face?
250 px/m at the person's position, according to IEC EN 62676-4.
Is DORI distance printed on datasheets reliable?
It is calculated for ideal conditions; real installations need a margin for lighting, angle and compression.
Related guides
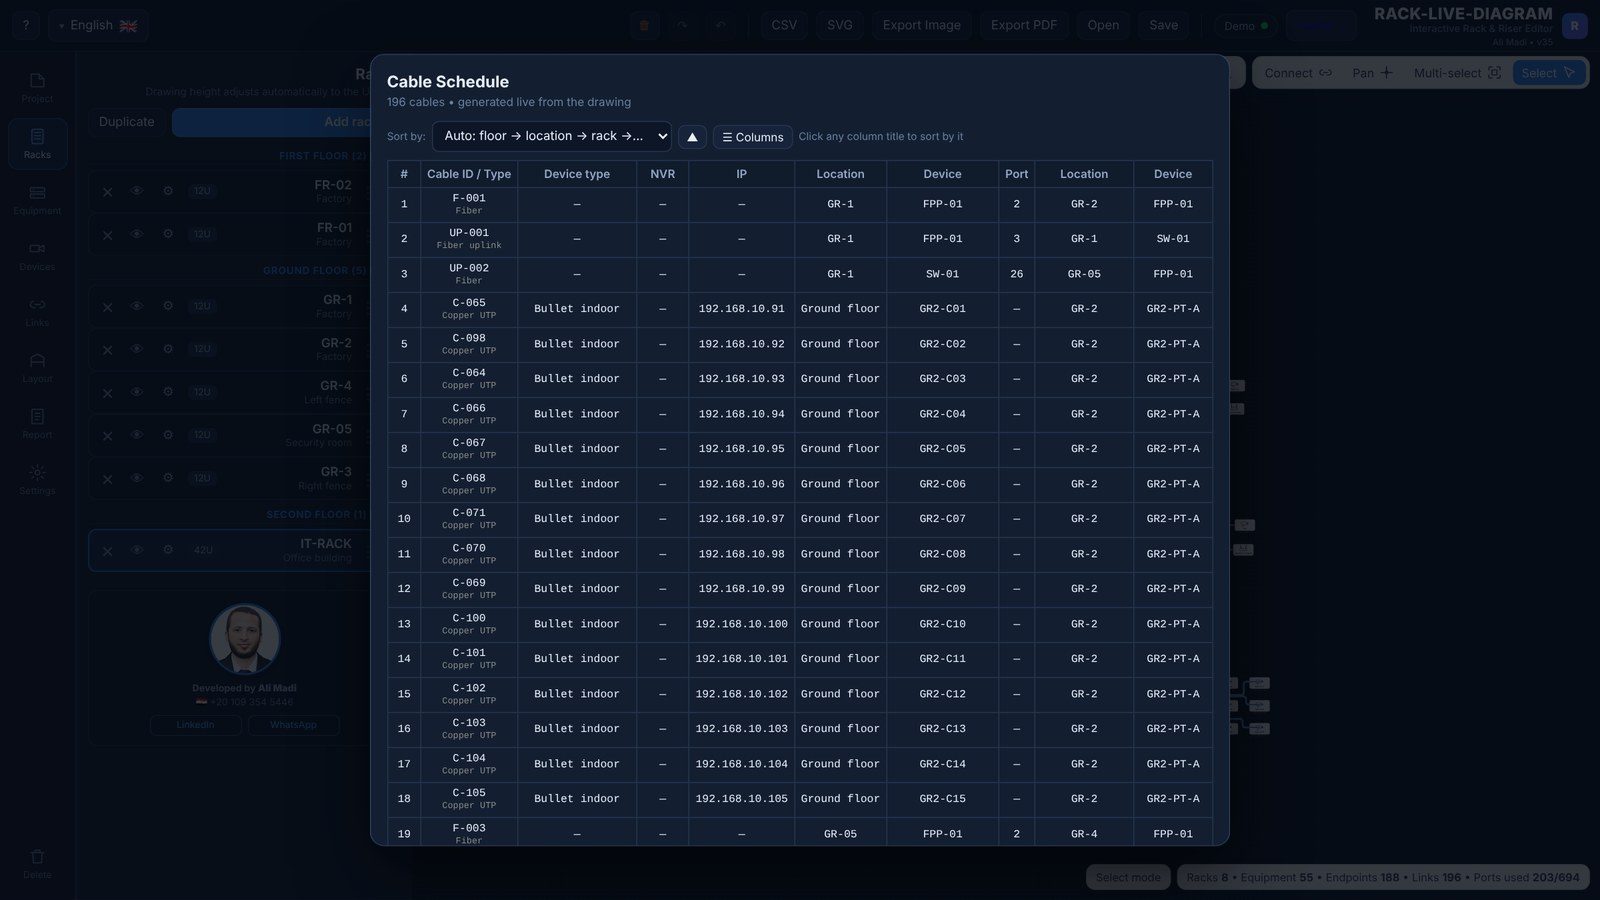
How to calculate NVR storage for CCTV cameras
Step-by-step NVR / DVR storage calculation for IP cameras: the bitrate formula, typical bitrates for H.264 and H.265, motion recording, RAID and a free storage calculator.
Read the guide →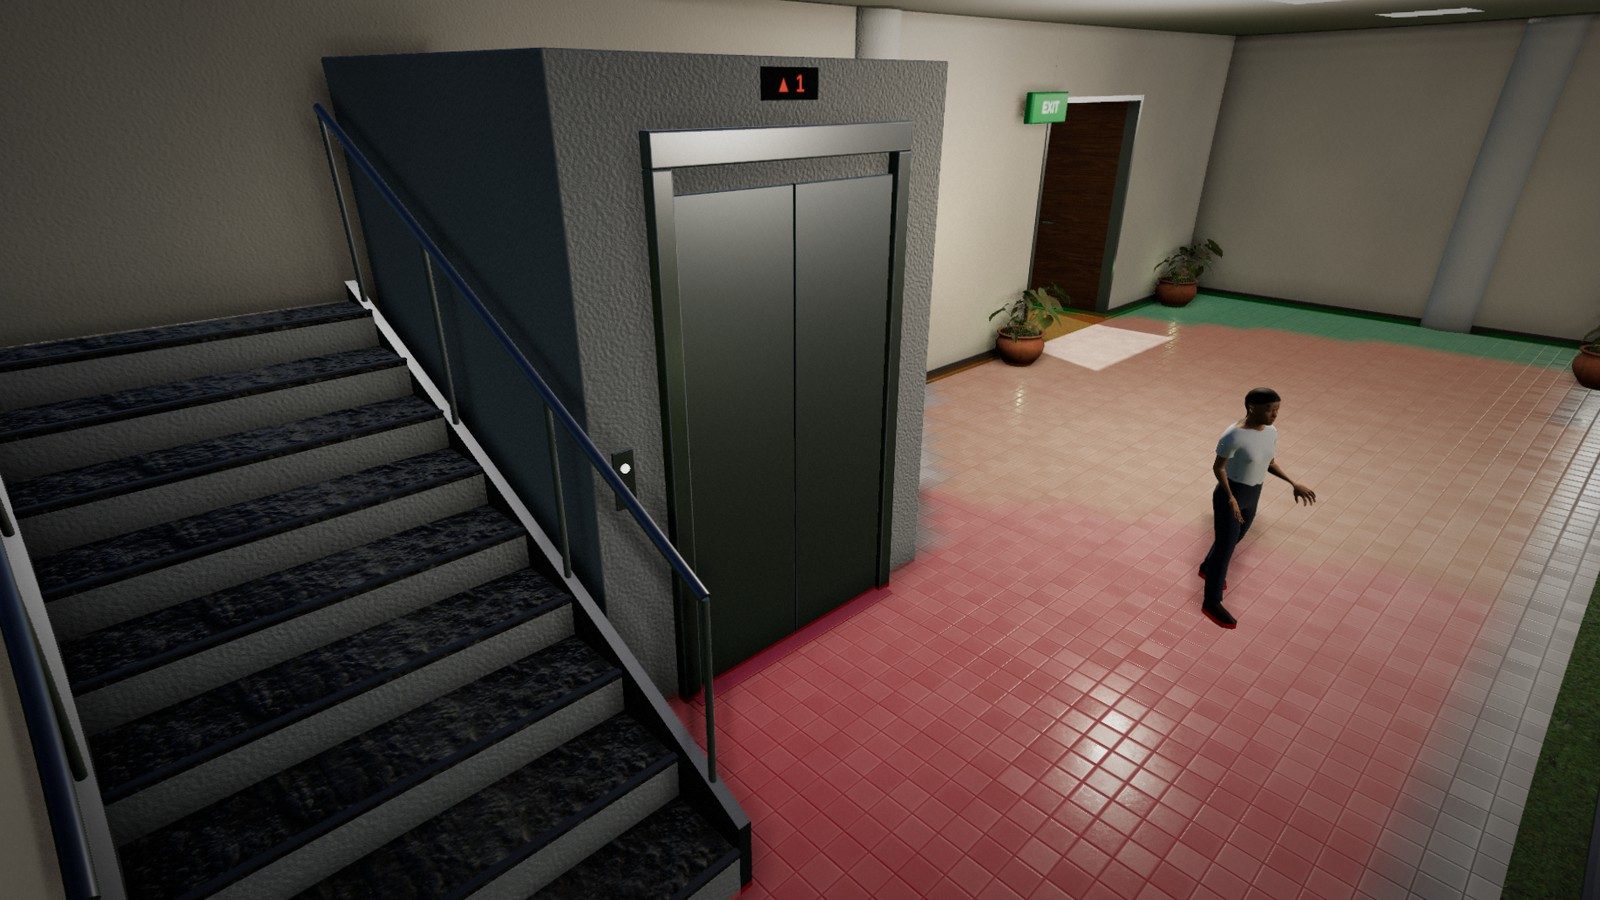
How to choose a CCTV lens (focal length & field of view)
Choose the right CCTV camera lens: 2.8 mm vs 4 mm vs 6 mm vs 12 mm, the focal length formula, field-of-view angles for common sensors, varifocal and motorised lenses, plus a lens calculator.
Read the guide →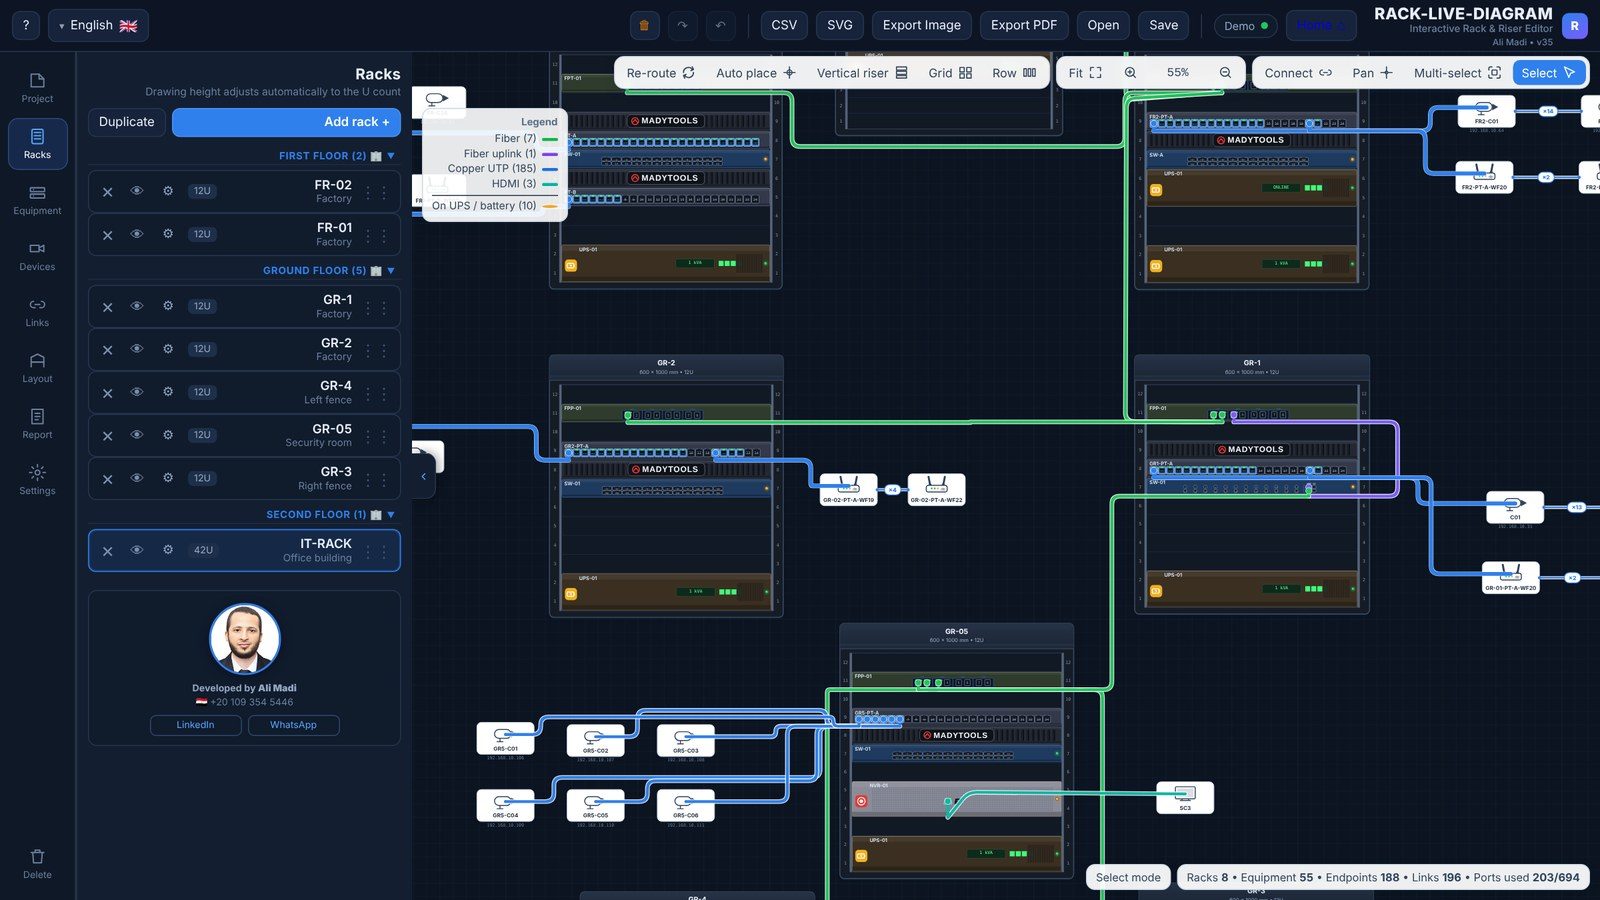
How to draw a 19-inch rack diagram
A practical guide to network rack diagrams: rack unit (U) sizes, 42U rack layout, where to put patch panels, switches, fiber ODF, UPS and PDU, labelling, and how to make the port map.
Read the guide →